Tuesday 25 November 2014

Instagram Summer

I broke my ankle at the start of the Summer holiday* and resigned myself to a very indoorsy couple of months. I had drawing, sewing etc. but photography seemed dimmed since I could hardly use my heavy Nikon whilst unsteady on my sticks. So for a little bit more social and a bit of creative learning - I finally joined Instagram.

A photo posted by nbnqnbnq (@nbnqnbnq) on

Despite having Flickr, Tumblr, Twitter, and Facebook I try to treat each one separate from the others.
One of my pet peeves is linked sharing across social media. The same thing coming full across all social media with broken links, missing text, hashtags where they don't belong...? Drives me potty and if, like me, you use lots of social media channels then you can feel as though you're getting spammed... especially when it's not even an interesting or appealing image.  There's also the former communications advisor me who wants to give my feedback on how to do this better, think about your audience, maximise your content and all that...  but I don't reckon my friends sharing bikini/baby/DIY pics would thank me. 

So... 
I set myself a few rules. 

1) No food pictures
2) Share between one and three photos per day (no more no less)
3) Take pics of bits/ all of my own drawings
4) Photograph inspirations 
5) Share pictures via other social media as and when appropriate
6) Enjoy it

Now of course I am at Art School being a Fashion and Textile Design student and Instagram use is very much encouraged too. Folk have told me that they enjoy seeing what I'm up to (especially those who knew me as a nose-to-the-grindstone professional) and that seeing my work is inspiring. Well I'm a sucker for that sort of thing so on I go. Plus I really enjoy connecting with other creative people that I have/ haven't met in real life - and to peruse the work that my peers are making too of course.

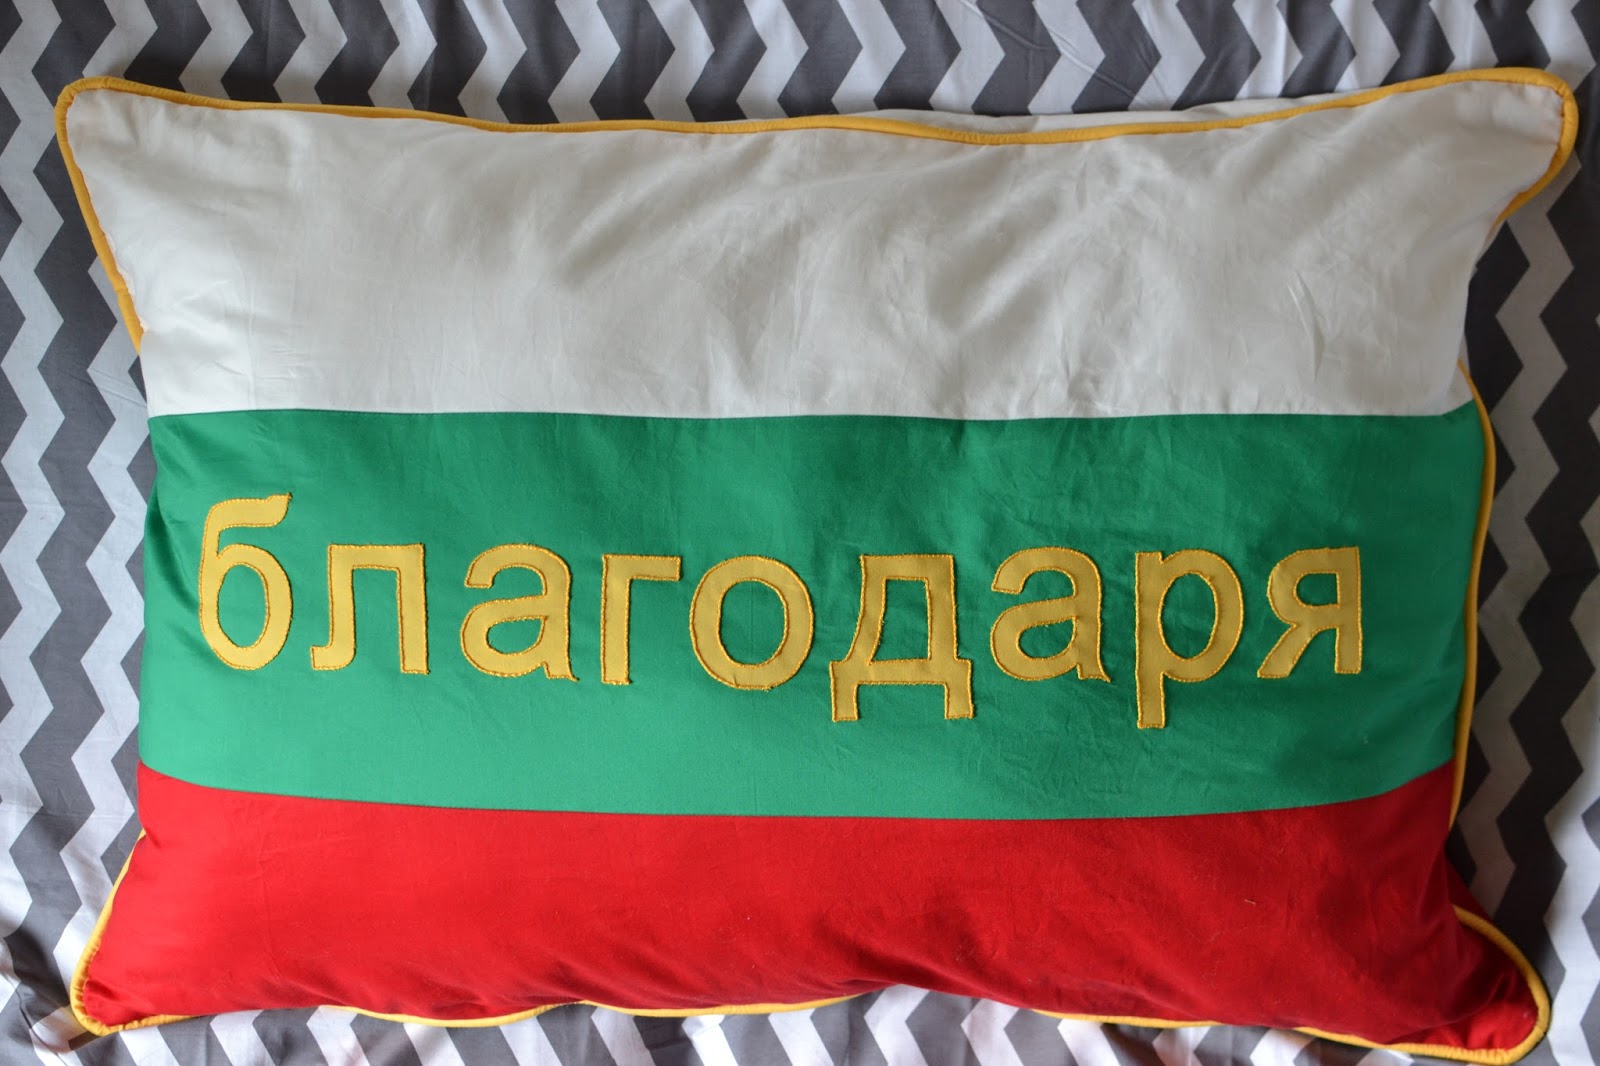
I broke one of my rules yesterday by posting four pictures. It really annoyed me... until I remembered that they were my own guidelines and I could break them if I wanted/needed to... and yesterday after making a fabric print I HAD to share a 'visualisation' (mock up of use) that I did with it!


Here I am though restating my intentions (for myself) and hoping that others will enjoy seeing my inspirations, makes, journey and a bit of me.

My instagram is here: http://instagram.com/nbnqnbnq

Follow me if you like... or not if you don't, but do join Instagram if you haven't already.  It really helps to reflect on where you're spending your time - whether creatively or otherwise. I certainly spot when it's been a while since I did any drawing or if I'm falling into a design rut.

nbnq xx

*at a music festival (Truck) going over a net made of of guy ropes to tents at about 2:30am on the last night since you asked. 

Wednesday 8 October 2014

Mature student? Me? Hardly likely.

Implausible as this might sound - I just started a B.A. at Art School. Yes really.

Little by little making and creating had become a big part of my life and last summer between jobs my dear friends (ratsasbigascats and Borderline Straggler) sent me an email that changed my life. I clicked on a link, I filled in a form and I then went to an open day. Being told that I was too old for a Foundation course was a bit of a shocker - but they just take them that are fresh from school. At the open day I met the Tutor of the 'Access to Art and Design' course, he interviewed me (looking at my flickr account on my phone to see my work!) and I was accepted there and then! Days later - and it was only that - I started the course... and a year on and here I am in a new city starting Uni life!


'Access to Art and Design' at the City of Oxford College is less than three days a week in college and then self-directed learning at home. I was excited to try a range of new techniques, improve my skills and my thinking but I had no intention whatsoever of going to University (despite that being part of the course). I hoped that I would simply come out as a more skilled maker with greater range. I was scared though. I had been an habitual truant towards the end of my time as school. I'd coast through  leaving things to the last minute, failing to finish work and then ostriching my way out of it, totally letting myself down. Bad girl? Hardly... it was an awfully nice school though and so that is how I was perceived. I therefore approached the Access course thinking that as some point I was likely going to screw up, or life would get in the way or... or... or...

What I failed to appreciate fully was that yes - once I was a flakey kid - but since then I have done numerous jobs and learned a tonne - usually against a real deadline. I'm ruddy good at that stuff too. So I applied some of those lessons in college.

1) Use a sensible file structure. Batch things by project and topic.
Doing it as you go and of course backing up - these things you learn by losing work.

2) Don't do your printing at home - it's expensive! 
Friends will often print your stuff at their work. Make it easy for them by batching up your images into a folder and then simply turning them into a photo album using PowerPoint.

3) If you're not sure what you're being asked to do just have a crack at it early on and show your progress to the person who gave you the task. They will steer you then.

4) Technology will always fail you if you leave those things until the last minute.
Leave the low tech stuff until last if you must leave something.

5) Take notes. Memories are unreliable. Notes are better. They serve as evidence too if someone else's memory is at fault.

6) Pictures keep one's attention better than words. Here's one I wish that all Academics would learn.
Take photos. I think in images more than words, so notes next to pictures works for me. Pages and pages of notes... death. Pictures my brain can't help but to process.

7) Learn how to use the photocopiers until you could just about service them.
Some stuff is quicker to do on a copier than a computer if you know what you're doing... and you can get some interesting results too.
There's never a queue when the copier is broken, and if you can quickly remedy it then you're at the front of the queue.

8) Some people are really working - and having a bad day - so be nice.
The people teaching are at work. I get that. I've been there. 'Thank you' can be just what you need, a sincere smile and a bit of light chat can do the world of good.

9) Talk to people at break times - call it building networks or making friends. It's not time wasted.

10) Get first thoughts down on paper and keep referring to it. Brainstorm as lists or mind maps whatever early ideas and direction can be lost mid project, when poorly or when life gets in the way.

11) Do the thing that you're rubbish at first. It's so much worse when that's the bit you're doing against a time pressure. e.g. for me painting - it's just not my thing... but sewing I will always make time for and it doesn't feel like a chore even under pressure. Sometimes the thing you hate doing turns out alright too - double yay.

I wasn't the oldest but nor was I the youngest. I wasn't the most talented nor the least. I don't even think I was trying hardest... but you know what... I loved it and when it came to the results I was top of my class!

My sketchbooks were much admired - not because my drawings were special but everything was in there! Lots of pictures. Lots of stuff.

Now I'm an undergraduate Fashion and Textile Design student and if it weren't for my Access course a) I wouldn't have considered this, even in my wildest dreams b) I wouldn't have the confidence and skills to be enjoying as much as I am... but the rest is on me. I cannot recommend it enough.

I could hardly believe it was happening - so I waited to share this until I had started - but it really is and I'm so grateful.

nbnq
xx

Tuesday 9 September 2014

Skull Lap Quilt (I ain't Guild material)

I eschewed the option of submitting to the Festival of Quilts this year partly because, well... hell if the cupcakes and bunnies of last year's Geek Boy Quilt that I submitted to the 'My First Quilt' category wasn't for the ladies of the Quilters Guild I was pretty sure that this one would go down pretty badly too. Anyway it's for me - and I can judge myself plenty hard enough thank you! As it turned out I fractured a bone in my leg so I couldn't even go to the FoQ but anyway...

It's been a long time in the making having been a very early bit of log cabin-ing, each stage came very slow behind the other in no sort of rush... but then I moved house and now I have a cutting table! An IKEA table of adjustable height meant I could trim the basted, quilted thing without having to break my knees on the floor!

Oh sure having a cast on my leg (and needing the aid of crutches to walk) over the summer didn't make it easy - but it did allow me time. So... here is is bound and done.  
Skulls, dots and hexagons - my Skull lap quilt
The pieced quilt back uses dizzyingly swirly black and white pattern 'YEAH.AI' by Brother Sister Design Studio - I love it but WOW is it hard on the eyes to work with!

Skull lap quilt - the back
Luckily having taken forever in making this quilt I didn't, as I had thought I might, compromise on bias binding and instead had time to stumble across the yellow dotty lace-edged bias binding in the wonderful haberdashers Darn it & Stitch in Oxford. The Alexander Henry fabric in the centre and the yellow dots were both also Darn it and Stitch buys I think - from many moons ago. These really were very early fabric purchases - I know this because I only picked up a small amount (not a mistake I make these days), and therefore didn't have any of either fabric for binding. Spotting (ha ha) the yellow dotty trim meant that I could finish my quilt! I feel as though the binding really does set it off wonderfully and brings a light and brightness to the whole piece.

I have suffered terrible quilt envy at Chez Penny (ratsasbigascats) as well as snuggly comfort of a sofa-based quilt so to have one of my own is such a thrill I can't tell you. Maybe I should have taken the photos before loafing and napping under it - but let's call that a 'testing phase'.

All in all - super chuffed!

As ever there are more pics on my Flickr.

I also finally joined Instagram this summer when I broke my leg (and therefore couldn't stand steady with my camera). Do take a look at my pics there if you like. I try to treat all social media as separate and different so lots of my stuff only exists there. I'm nbnqnbnq there too.  

nbnq
xx

Monday 23 June 2014

Stitchy Portraits

Framed on a wall - in an exhibition? My work? Really? Yeah...
Me (Sally a.k.a. nbnq / nearlybutnotquite/ nbnqnbnq) with my Herman ze German range of embroidered portraits.
Here's the story of the final project of my year at college and my self-chosen goal to create a modern embroidered portrait. Contemporary male subject, nothing twee, 'girly' or cute. I'd had a crack at something similar in an earlier project (see below) but had been pressed for time and I wanted to do better.

Carlos Acosta embroidery
Working from your own drawings from life seemed to be what the staff at college would respect most and I discovered a real love for it. So I sneakily did a few pencil sketches of my friend Dre whilst he was absorbed in one of his favourite tv shows and started to stitch them up.

Dre from life embroidery
More than one of my tutors at college suggested I do "someone we all know"... but really that's fan art and I don't do that. After a twitter interaction with Hoop-La where I was torn between reading the F1 Racing Magazine or Hoop-La I did stitch up an embroidery of Lewis Hamilton and I thought about doing one of Valentino Rossi... Anyway it turns out 'everyone' doesn't know who he is* anyway.

Lewis Hamilton 
Embroidered portraits - there must be loads of them, right? Uh... not so much. I created a Pinterest Board named 'Stitching Portraits' to help me to gather inspiration... but my best reference and inspiration came from PUSH Stitchery - the Mr X Stitch collated collection of contemporary stitchers.

The V&A's embroidered items on display when I visited were those with one-colour flat fill for flesh and outlines for definition. Lovely though they were, that's not what I was looking for. I was determined to create a painterly embroidery... and I was thirsty.

Bratwurst at Herman ze German's 
Making the most of the trip afterwards it was out to Herman ze German for lush beers and bratwurst with London loves after and, since I had my proper camera (and was out of Oxford), I snap,snap, snapped away.

Bratwurst, Stein of Beer and some Sauce - at Herman ze German
Loving my photos I thought if I worked from them I'd have all the colour references I needed! Not only that but Cayce Zavaglia whose work I had drooled over says (in the PUSH Stitchery Book) that she only ever embroiders friends, family and fellow artists, and I thought yeah, that'd be nice; so that even when it's tricky, if I'm looking at the face of someone I love, I won't want to shred it.

I used the same process of tracing the original image with a pencil over my lightbox, picking out the lines I wanted to keep (inspired by Frank Quitely's process that I saw on What Do Artists Do All Day), then I took the pencil tracing and repeated the process with a black fineliner, and then onto fabric with a water soluble pen.
'Bratwurst' pencil drawing from photo by hand
Wanting to try new ideas and stretch myself is part of the reason for doing the course in the first place, so needless to say I didn't stick with the standard cotton on cotton embroidery. Instead I used a butter yellow coloured faux suede that my mum has previously used for upholstering chairs. I tested it with a continuous line drawing I did from life. The effect is great, a tactile surface that makes the embroidery seem touchable and appealing in a way that cotton doesn't, also the faux suede has more rigidity so appears less crumpled. Great.

Continuous(ish) line Dre on butter yellow faux suede (IRL) 
I had originally tried a small sample, working on cotton and using a watercolour to match colour, to test the time, difficulty level etc.. I learned from this sample that a full stitch fill would take longer than I had time for and also that it actually didn't give the contemporary look that I was after, but rather back to a religious style of embroidery.

Nosey noses
I started off winging it; colouring in really as I always had done before but I ended up unpicking the shading on the hands, and at that point, I decided to sit with my coloured pencils and actually plan out a stitch map. I don't know if that is a thing that folk normally do since I don't know any other embroiderers in real life.**

Stitch plan of 'Stein' using coloured pencils
The Stein embroidery uses unlinked chain stitch for the foamy head on the beer.
Stem stitch in satin, metallic and normal floss for the hair.
French knots for pupils.
Multiple embroidery flosses used including satins and metallics on butter yellow faux suede.
'Stein' - the colour portrait
My aim was to create a contemporary, embroidered portrait with a painterly use of colour and using stitch size and direction to create texture instead of an embroidered outline as I felt this had been a failing of my earlier samples including my Carlos Acosta. Unlike Cayce Zavaglia and others I was seriously pressed for time, and though I would have liked to have created a full fill of colour, I just couldn't guarantee being ready for the deadline in that case. In fact I would have liked to create a full set using the colour method I chose for Stein... but it would have broken me.

Picking up and putting down of stitchy projects does however seem to be the norm. Certainly whilst I was working on 'Stein' I also started stitching 'Bratwurst' just using a plain dark floss for a tiny, fussy, neat back stitch. My 'Eureka!' moment came upon seeing the back of the embroidery was so much more interesting than the front! Strong dramatic eyes and a fierceness that you don't get from the 'front' or from the original photograph. Rats! I thought at first. It's going to be hidden behind a frame. Oh Globbits!

Detail from 'Bratwurst' whilst in progress
Taking that lesson I started 'Sauce 2' aiming for the same effect working from the rough side of the faux suede, using my fussy little back stitches but making my knots on the side upon which I was stitching - total counter-intuitive and a real wrench!

'Sauce 2' the 'back'
But... I got the effect I wanted.
'Sauce 2' (mid framing)
With the set ready to frame I was torn over 'Bratwurst' I so wanted to show the dramatic back and was told I could just put photos in my sketchbook but no - then I realised oh yeah... I'm on an ART course - a broad one - if folk can have abstract paintings with rough edges then I can certainly just show the back!

'Bratwurst' embroidery (mid framing)
After a bit of spray-painting frames (to the perfect shade of grey) and cutting mounts at home, mounting my embroideries for the first time ever, hanging them on wires on a wobbly board and a bit of an anxious wait... it was the show! Lots of my lovely loved ones came from all across the UK to see the show and I was chuffed to little meatballs. Especially when my unwitting models J&R saw themselves! That was a a tough secret to keep!
J&R see themselves as embroideries for the first time!
Photo heavy and wordy blog combo I know... but you can see my Flickr for more pictures if you like!

Comment here or reach me as @nbnqnbnq on twitter if you prefer.

nbnq x

*I KNOW right!? (or if you actually don't know click)
 **Though I hope to make it to the &Stitches Picnic in the Park and change that!

Wednesday 16 April 2014

Massive Thanks (Cushion) to (the delightful) Tom Rosenthal


благодаря!

meaning 'thank you' in Bulgarian. It's the name of the divine Tom Rosenthal's show from Edinburgh last year and presumably some more in 2014...? Anyway  I saw a pre-Edinburgh version of it. He was really funny - I laughed a lot and you should take the chance to see him if you get it. I did get distracted by shoes so neat that I wondered if he hovered about without ever touching the floor, his distractingly, amazing, envy-inducing perfect teeth, oh also there was some interaction which left both of us feeling weird and guilty for the other - and there was a hug. I'm not going into more detail - I was mortified.

Not long afterwards I made I made a massive 'Thanks' cushion. He asked me to. I didn't just take it upon myself. I mean I loved Plebs and Friday night dinner but I'm not a nutcase.  I am fairly certain that this was Tom finding a way to do something nice for me after the awkwardness of the gig thing. I was certainly chuffed to be commissioned with it but I took this also as a penitential opportunity. Foisting sewn goods, food and drink are the kindnesses I choose in place of awkward conversations ordinarily anyway!

Now this was in the heatwave of the summer and I know a lot of time has passed but meh... I've been studying and making! 


I did ask for a scribbled sketch of it - and that's this
We went into more detail than this but the basic specifications were
'... Am looking for the Bulgarian flag with the title stitched into it in yellow / gold (the title is in Cyrillic).'
Sure - I thought - I can do that. How hard can it be?

'Is it possible to maybe have a golden border to make it feel a little ornate? I dunno, whatever you think will look best'
So then - cushion piping.
Right so... best relinquish my objection to piping - and learn how to do it... or find some truly gigantic ric rac!

'Also, the bigger the better! It will be on stage and would be great if it was legible to all.'
That's going to be a damned big cushion.

I asked for a scribbled drawing and then worked up the scale and such from there. I created strips of each colour for both flags - that is in Bulgarian on the front and English on the back. I attached the letters on, pieced it together, created piping... melted under it - got up super early to start when the light was good but the heat was low...

 I also hand couched (embroidery stitch anchoring yarn laid on the surface) DMC floss all the way around each letter to make it totally lovely, tactile and make it feel more luxurious or 'ornate' - then tidied it up.

Perfectionist? Me?

Things I learned from this project:

1) When it comes to appliqueing lettering - bondaweb is the only way.

2) Tracing of lettering from print onto bondaweb/ fabric (without a lightbox) involves standing up against the window and
 a) looking as though you're being held captive and are making a plea for rescue - especially when using non English words and/ or characters.
 b) melting in the heat like an ant under a magnifying glass (if you choose to do this in the peak of summer).

3) Couching big floss around the edges of flat letters/ images really makes them pop.

4) Factor in for the misery of ironing in a heatwave. Do any ironing very early in the morning.

5) In a heatwave my computer will refuse to work, much in the way I'd like to when it's sweltering. It will burn my wrists if I come to close to using it. This makes the promise to send photographs feel like a curse.

6) I need a proper foot to enable me to do piping by machine, since I will choose hours of aching hand sewing over the chance of it not being quite right.

7) Explain dimensions as early on as possible in a project, with metric and imperial and a comparison object. Not everyone understands either or both systems.

8) Interacting with comedians is not always mortifying... though I should probably learn to keep my big mouth shut, learn to stop my face from showing what I'm thinking all the time, and oh yes - NEVER SIT AT THE FRONT OF A COMEDY GIG... sometimes good things come out of it.

9) Tom Rosenthal is proper lovely.

10) Loving the challenge of this project was one of the things that forced my decision to quit the day jobs and go to study Art & Design... and I created a portfolio sheet of this project which also impressed at my university interview!